
Puppy Crate Training | A Step by Step Guide
Here you can find everything you need to know to properly crate train your new puppy. With the tips and advice in this step by step guide, your puppy will be on his way to a happy relationship with his crate, and you.
What is Crate Training?
Check out our article on the morality of crate training, for a more in-depth look at this question.
Some people think crate training is getting your dog used to being in a cage all day and all night without crying. While putting your dog in a crate while he’s young is necessary to avoid destruction and bathroom problems, the inside of a crate should not be where your loyal friend spends most of its life.
That is not crate training. That is neglect. In this article, we’ll look at how proper crate training is an especially effective method of housetraining a new puppy, among other things. It is a tool to be used for specific purposes, and only under supervision. It is not a punishment and it is not a replacement for a dogsitter. Please don’t leave your dog in a cage all day!
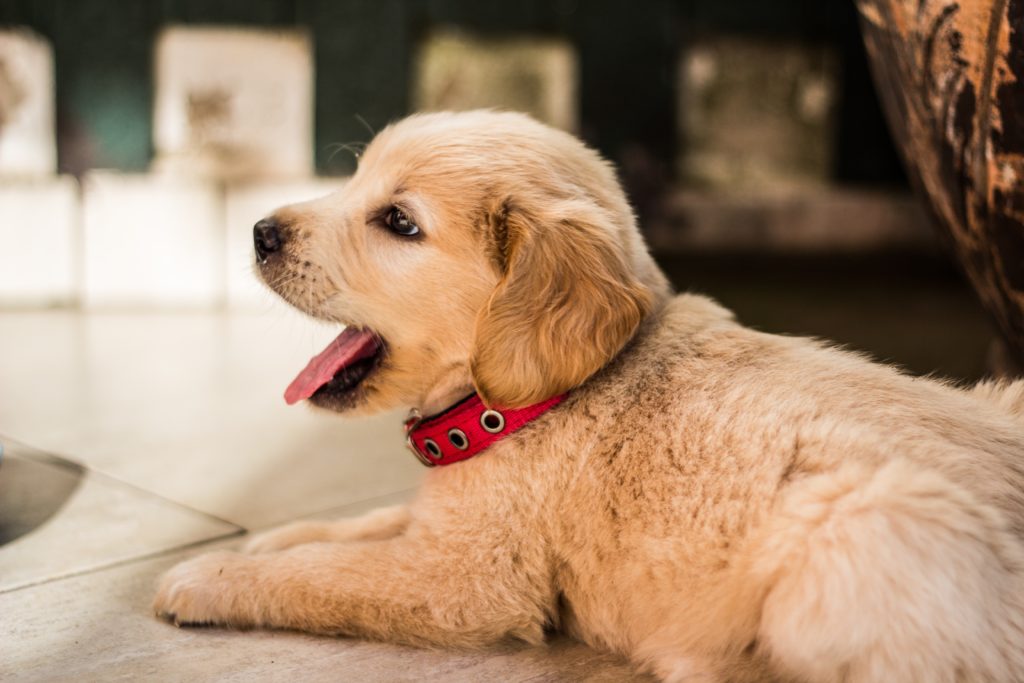
It is important that your dog sees the crate as a positive place, so remember that during your training.
Puppy Crate Training Basics
The following rules and tips form the framework of puppy crate training and should be in the back of your mind at all times.
- The crate is a positive place. Don’t do anything that would make your dog feel scared or trapped or he may not want to go inside.
- A crate is not the dog’s “home” or “room”. Excess time spent inside a crate can be detrimental to your dog’s mental health. Yes, dogs can be depressed and lonely. They’re pack animals!
- Crating is a short term training method. Once your puppy “gets it”, he doesn’t need to be locked up.
What You Need to Crate Train a Puppy
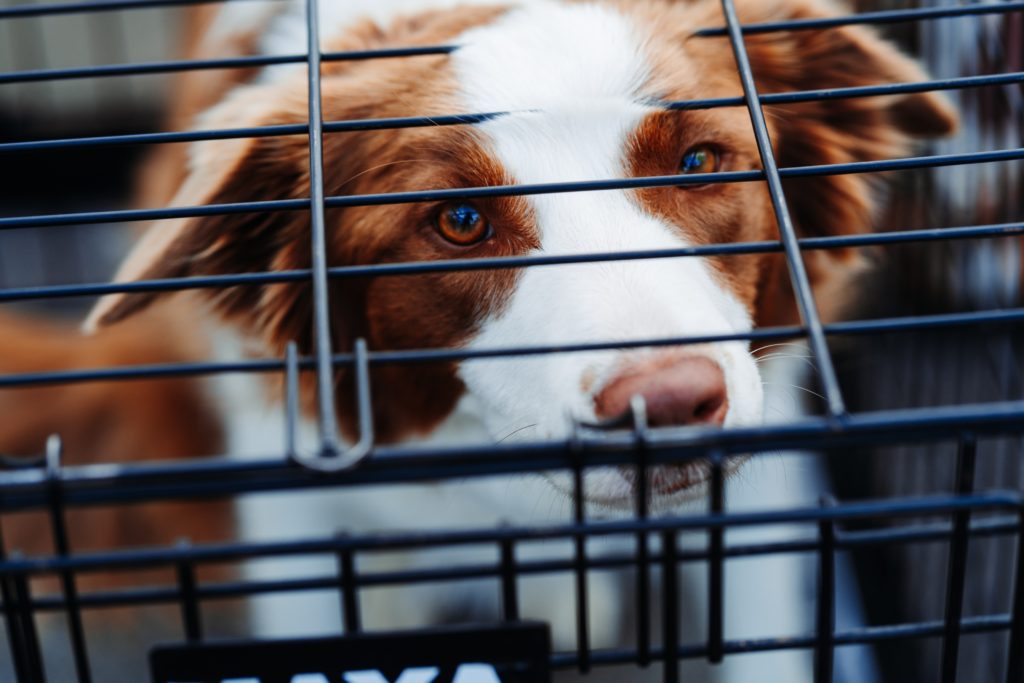
Although it is obvious you need a crate to crate train a puppy, you should make sure to get the right kind of crate for the job.
When preparing for puppy crate training, always buy a crate that will fit your dog once he’s fully grown. Not only will your dog appreciate that the crate doesn’t change and continues to smell like him, it’s easier on your bank account.
This metal crate is a perfect lightweight and easily packed option. Your dog should have just enough room to walk into the crate and turn around comfortably. My experience with this crate has been positive when crate training a puppy. I will say that some strong or especially tenacious dogs can escape this crate, so if you’re reading this to crate train an adult rescue dog, you may want to try a more sturdy option such as this heavy-duty option.
Once you’ve got a crate that fits the fully grown version of your dog, you may notice that it’s a lot too big for your puppy. You’ll want to reduce the size of the crate and slowly increase it as your puppy grows up. Puppies won’t make a mess in their crate if they have to sit in it, so make sure to use something to reduce the size of the crate to accommodate this.
Puppy Crate Training Steps
Make sure you ease your dog into the crate and develop his positive association with the crate before proceeding to further steps. Your dog should show no hesitation to enter the crate, in fact he should be eager to enter!
Step 1: Prepare the Crate
The crate should be somewhere that is near you and the rest of the family and should be a comfy and welcoming place for your dog to sleep.
- Probably the best spot for the crate is in your room, near your bed, so your dog can sleep with you. If you spend a lot of time elsewhere you may need to move the crate.
- Line the crate with your dog’s favorite bed or towel. If it already smells like your dog, it will make the crate more calming.
- Remember to have the crate sized properly!
Step 2: Introductions
First impressions are everything. You don’t want your puppy to think their crate is a spooky place that makes loud noises or is frightening. Make sure it is all ready to go, with the door open, and not liable to make any loud noises.
- Guide your puppy over to the crate and talk in a sweet and reassuring tone. Dogs really pick up on your tone!
- Gently coax him to investigate the crate.
- If your dog isn’t interested, lead them into the crate with some treats, breadcrumbs style.
- Sometimes a puppy will be scared, that’s ok. Don’t push them or force them in. Just keep coaxing them in with food.
- Don’t rush it! This can take a few days.
Step 3: Getting Comfortable
You’ve made it over the first hurdle and your puppy thinks his crate is an okay place. Now you’ve got to make him love it. And the best way to a dog’s heart is through his stomach!
- Give your puppy his regular meals in his crate. Don’t leave food in his crate at all times, as this can encourage overeating and obesity. Follow a scheduled and portion control feeding method.
- Puppy crate training is a process. Move his dish further and further back into the crate to get him used to being fully inside the crate.
- Don’t let anything scare him when he’s in the crate. Negative associations are hard to get rid of.
Step 4: Closing the Door
It had to happen eventually. Make sure you close it slowly and don’t make loud noises while you’re doing it.
- Once your dog is comfortable entering and eating in the crate, you can start closing the door during feeding times.
- Slowly increase the amount of time you leave the door shut. Start at 2 minutes and increase it by a minute or so until they’re closed in for 15 minutes without whining.
- If your dog begins to whine, DO NOT let them out until they stop. Doing so will teach them that whining will get them out of the crate, and will be very difficult to get the whining to stop.
Step 5: Almost Done
Hopefully, your puppy has made it this far and isn’t whining too much. Whining is normal, but again, DO NOT let your puppy out of the crate until the whining stops.
- Crate your puppy during regular hours (not feeding times). Call them over to the crate, give them a command – like “bed” or “house” and have him enter. Give him the treat with praise and shut the door.
- Sit with your puppy calmly, not interacting or giving attention. Just allow yourself to calm and try to project that feeling to your dog. (I realize that may sound strange but dogs are great at “reading a room”)
- Once your pup is used to being in the crate without his food dish, start leaving the room for short periods of time before returning a few minutes later, AFTER any whining has stopped.
- Let your dog out and give a little praise, but not too much. You don’t want your dog being uptight and trying really hard to be quiet in order to get praise once you’ve let him out.
Step 6: Puppy Crate Training Completed!
Nothing left to do except leave him in his crate while you go out for groceries.
- Follow the same routine as before, coax him into his crate with a treat, and leave, staying calm throughout.
- Don’t leave him alone for too long at first, and never over 4 hours. Puppies should not be left alone for longer than two hours, especially if you don’t know how long ago they peed/pooped. A young dog has a small bladder, don’t force them to hold it or mess on themselves.
- When you return home don’t shower him in attention and praise. I know how tempting this is, and how much they love it, but you need to think about how they feel when you’re not home. Having an explosion of positive emotions when you come home can make your dog feel anxious and highly strung in their crate as they anxiously anticipate your return home.
That’s about it. These steps should ensure your dog has a healthy relationship with his crate and can be left alone without crying or peeing in your house. Check out our New Puppy Checklist for some must-have products for your new pal.
As an Amazon Associate I earn from qualifying purchases.